

How to Make an App Like Virtual Desktop
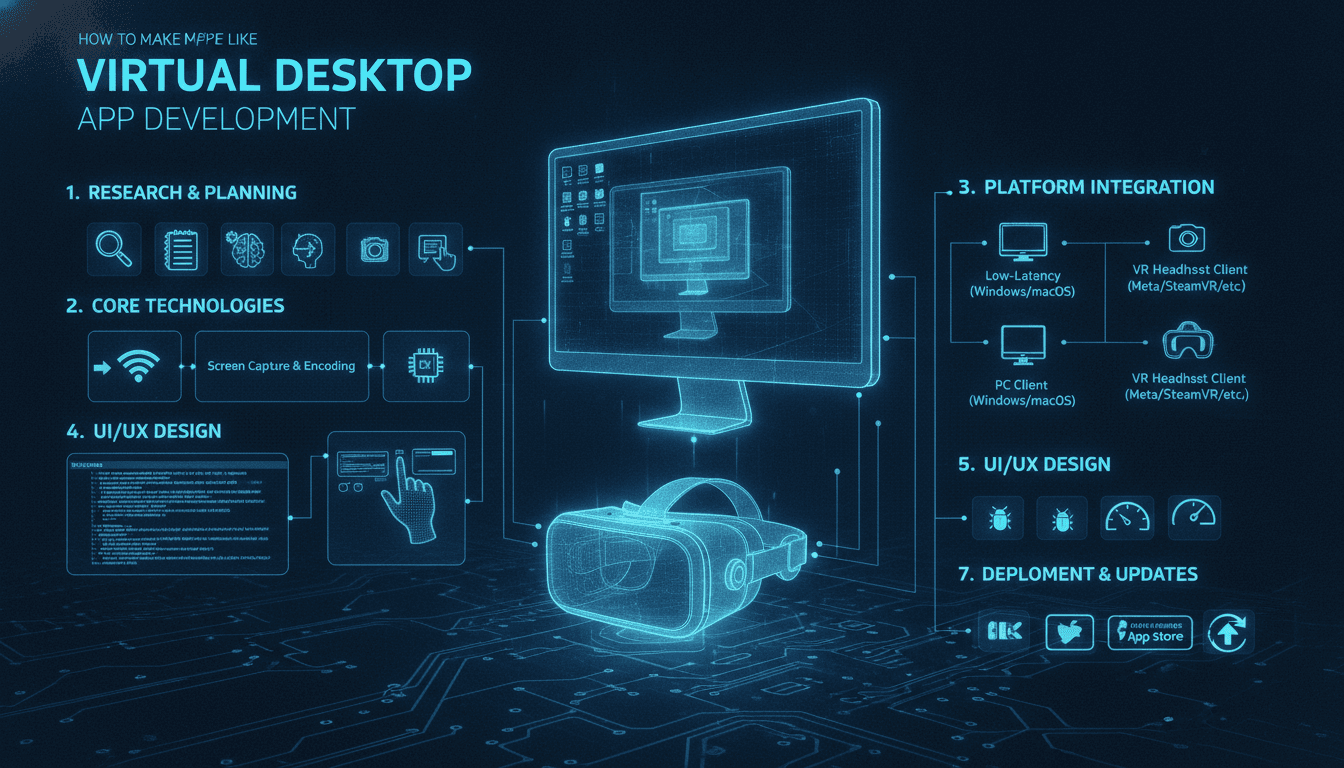
How to Make an App Like Virtual Desktop
Virtual Desktop changed the way people think about VR headsets. Instead of treating a headset as a closed box that only runs native content, it turns the headset into a window onto your PC — letting you stream your desktop, play flat-screen games on a giant virtual screen, and even run SteamVR titles wirelessly.
If you want to build something similar, you're not just building an app. You're building a low-latency streaming pipeline, a VR runtime client, and a desktop companion service that all have to work together in under 20 milliseconds. This guide breaks down what that actually takes.
To explore this further, see How to Make an App Like iHandy Carpenter.
What Virtual Desktop Actually Does
Before writing a line of code, it helps to be precise about the feature set you're replicating:
- Desktop mirroring in VR — capture the PC screen (or multiple monitors) and render it on a floating panel inside the headset.
- Wireless PCVR streaming — intercept OpenVR/OpenXR frames from a PC VR runtime and stream them to the headset while sending tracking data back upstream.
- Environment rendering — place the user in a scenic 3D environment or theater rather than a void.
- Input passthrough — mouse, keyboard, gamepad, and VR controller input captured in the headset and injected into the host OS.
- Audio round-trip — system audio streamed to the headset, microphone streamed back.
- Local media playback — 2D, 3D, 180°, and 360° video playback from the host machine.
That's the scope. Each bullet is a subsystem.
The Two-Piece Architecture
Any app like this is really two applications shipped as one product.
1. The Host Application (Desktop Streamer)
Runs on Windows (and optionally macOS/Linux) as a background service or tray app. Responsibilities:
- Screen and audio capture
- Hardware video encoding
- Network discovery and pairing
- Input injection into the OS
- Hooking the VR runtime for PCVR streaming
2. The Client Application (Headset App)
Runs on the standalone headset — Quest, Pico, Vive XR, Apple Vision Pro. Responsibilities:
- Discovery and connection UI
- Hardware video decoding
- Rendering decoded frames into the VR compositor
- Sampling head and controller pose at high frequency and transmitting upstream
- Reprojection / timewarp to hide network latency
The connection between them is your real product. Everything else is UI.
Step 1: Screen and Frame Capture
On Windows, the modern answer is the Desktop Duplication API (part of DXGI) or Windows.Graphics.Capture for per-window capture. Both give you GPU-resident textures, which matters enormously — you never want the frame to round-trip through system RAM before encoding.
You may also find our article on How to Make an App Like Minecraft useful.
// Simplified Desktop Duplication flow
IDXGIOutputDuplication* dupl;
output1->DuplicateOutput(d3dDevice, &dupl);

DXGI_OUTDUPL_FRAME_INFO frameInfo;
IDXGIResource* desktopResource;
dupl->AcquireNextFrame(timeout, &frameInfo, &desktopResource);
// Hand the D3D11 texture straight to the encoder — zero copy
dupl->ReleaseFrame();
Key details that separate a demo from a product:
- Dirty rect tracking. Desktop Duplication tells you which regions changed. Use it to skip encoding static frames and drop your bandwidth by 80% when the user is reading a document.
- Cursor compositing. The hardware cursor isn't in the captured frame. You get its position and shape separately and must composite it yourself, ideally client-side so cursor movement feels instant.
- HDR and color space. If you want to support HDR desktops, you need to handle scRGB / Rec.2100 pipelines and tone-map appropriately.
- Multi-monitor. Duplicate each output separately and let the client arrange them as separate panels.
For PCVR streaming, capture is different. You register as an OpenVR driver (or an OpenXR API layer) so the PC VR runtime submits its stereo frames to you instead of to physical headset hardware. This is the hardest part of the whole project and the part with the least public documentation.
Step 2: Encoding
You need hardware encoding. Software encoding will blow your latency budget immediately.
| Vendor | Encoder | Notes |
|---|---|---|
| NVIDIA | NVENC | Best low-latency presets, split-frame encoding |
| AMD | AMF / VCE | Good, slightly higher latency |
| Intel | Quick Sync (via oneVPL) | Improving rapidly with Arc |
| Apple | VideoToolbox | For macOS hosts |
Codec choice matters:
- H.264 — universally decodable, lowest decode latency, worst compression efficiency.
- HEVC (H.265) — roughly 30–40% better quality per bit. Well supported on Quest 2/3.
- AV1 — best efficiency, hardware encode on RTX 40-series and RX 7000-series, hardware decode on Quest 3. Best option going forward for high-resolution streaming.
Encoder configuration for VR streaming is aggressive and unusual:
- Zero-latency tuning, no B-frames, no lookahead
- Ultra-low-latency rate control with a very small VBV buffer
- Slice-based or tile-based encoding so you can begin transmitting the top of a frame before the bottom is even encoded
- Intra-refresh instead of periodic keyframes, so you never get a bandwidth spike that stalls the pipeline
- Per-frame bitrate adjustment driven by network feedback
Step 3: The Transport Layer
Do not use TCP. A single retransmission stalls your entire pipeline and produces a visible hitch.
Build on UDP with your own lightweight reliability layer, or use an existing low-latency transport:
- Custom UDP + FEC — forward error correction (Reed-Solomon or a simple XOR scheme) lets you recover from isolated packet loss without waiting for a retransmit. This is what most serious streamers do.
- QUIC — convenient, but head-of-line blocking within a stream can still bite you; use unreliable datagrams.
- WebRTC — excellent if you need NAT traversal and browser clients, and its congestion control (GCC) is battle-tested. Heavier than you might want.
Your protocol needs, at minimum:
- A control channel for pairing, handshake, resolution negotiation, and settings changes.
- A video channel carrying timestamped, sliced frame data.
- An audio channel (Opus works well; consider uncompressed for lowest latency on good networks).
- A pose/input channel flowing upstream at 500–1000 Hz.
- A telemetry channel so the client can report decode time, jitter, and loss, and the host can adapt.
Congestion control is non-negotiable. If you push more bits than the Wi-Fi link can carry, buffers fill, latency climbs, and the experience becomes nauseating. Monitor one-way delay gradient and back off on the encoder bitrate the moment you see queuing.
Step 4: Networking Reality
Tell your users the truth: this only works well on Wi-Fi 6/6E/7 with a dedicated 5 GHz or 6 GHz band, with the headset one hop from the router, and the PC on wired Ethernet.
Build in a network diagnostic screen that measures:
- Achievable throughput to the headset
- Jitter and packet loss over a 30-second window
- Channel congestion and interference
- Whether the PC is on Wi-Fi (and warn loudly if it is)
Also support USB tethered mode. Running the same protocol over a USB 3 link via ADB port forwarding (on Android-based headsets) gives users a reliable fallback and a great debugging tool for you.
Step 5: Client-Side Rendering and Latency Hiding
This is where the magic happens. Your target is motion-to-photon latency under about 50 ms total, with the network portion under 20 ms.
For desktop mode, you render a curved or flat quad in a 3D environment and map the decoded video texture onto it. The panel is world-locked, so head motion is handled entirely by local rendering — network latency only affects content updates, not the sense of stability. This is why desktop mode feels comfortable even on mediocre networks.
For PCVR streaming, the frame was rendered on the PC for a pose that is now 30–40 ms old. You must correct for that:
- Send the predicted pose upstream with a timestamp and a frame ID.
- The host renders with that predicted pose and stamps the frame with the pose it actually used.
- The client receives the frame, compares the rendered pose to the current pose, and applies asynchronous timewarp / reprojection to shift the image accordingly.
- Add space warp (ASW/ATW-style motion vector extrapolation) to synthesize intermediate frames when the network or GPU can't keep up.
Pose prediction quality is a huge differentiator. A good predictor uses angular velocity and acceleration with a latency estimate updated continuously from round-trip measurements.
Frame N:  client samples pose at T, predicts pose at T+RTT+render
          → sends (poseID, predictedPose, T)
Host:     renders with predictedPose, encodes, stamps poseID
Client:   decodes frame, reads poseID, fetches current pose
          → reprojects delta, submits to compositor
Also: decode on a dedicated thread, use the platform's low-latency decode path (on Android, MediaCodec in async mode with a SurfaceTexture output), and never let a frame touch the CPU.
Step 6: Input Injection
The headset must drive the host. Options on Windows:
SendInputfor mouse and keyboard — simple and reliable for most apps.- A virtual HID driver for gamepad emulation (ViGEm is the common choice) so games see a real Xbox controller.
- For PCVR, controller poses and button states feed directly into your OpenVR driver.
Add quality-of-life input features that users will genuinely rely on:
- Laser-pointer cursor from the VR controller
- A floating virtual keyboard with haptic click
- Hand tracking as a pointing device
- Gaze-plus-pinch interaction on headsets that support it
- Passthrough cutouts so users can see their real keyboard
Step 7: Audio
Capture system audio with WASAPI loopback on Windows. Encode with Opus at 48 kHz stereo, or ship raw PCM if bandwidth allows — it saves several milliseconds of codec latency.
Crucially, keep audio and video in sync by stamping both with the same host clock and letting the client buffer audio to match video presentation time. A 40 ms A/V desync is immediately noticeable in video playback.
For microphone, stream from the headset to a virtual audio input device on the host so Discord, Zoom, and games see it as a normal mic.
Step 8: Environments and Media Playback
The 3D environment is the least technically difficult and most commercially important part. Users choose streaming apps partly on vibe. Ship several polished environments — a theater, a mountain cabin, a void with adjustable lighting — and keep their GPU cost near zero so every frame of budget goes to the stream.
Media playback deserves its own local path: read files directly from the host over the network, decode on the headset, and support:
- 2D and side-by-side / over-under 3D
- 180° and 360° equirectangular
- Subtitle rendering, multiple audio tracks
- Adjustable screen size, curvature, and distance
Tech Stack Recommendations
Headset client
- Unity or Unreal for rapid environment work; native C++ with OpenXR for maximum control and lowest overhead
- OpenXR for cross-headset compatibility (Quest, Pico, Vive, Steam Link-class devices)
- Android NDK,
MediaCodec, Oboe for audio
Host application
- C++ for the capture/encode/transport core
- Rust is an increasingly good choice for the networking layer
- Native UI (Win32/WinUI) or a light Electron/Tauri shell for settings
- OpenVR driver plugin for PCVR interception
Shared
- A single protocol definition compiled for both sides (FlatBuffers or Cap'n Proto — avoid anything that allocates per-message)
- Shared telemetry and logging so you can debug user reports from paired logs
Testing and Measurement
You cannot ship this without instrumentation. Build these from day one:
- End-to-end latency measurement using a high-frame-rate camera pointed at a flashing screen and the headset lens, or an on-device photodiode rig.
- Per-stage timing overlay showing capture, encode, network, decode, and render time per frame.
- Network shaping in your test lab — artificially inject 2% packet loss, 15 ms jitter, and bandwidth caps, and confirm the experience degrades gracefully rather than collapsing.
- Matrix testing across GPU vendors, headset models, router models, and codecs. The combinatorics are brutal; automate what you can.
Monetization
Apps in this space typically use one of these models:
- One-time paid app on the headset store, with a free host application. Simple, proven, and what Virtual Desktop itself does.
- Freemium — free desktop mirroring, paid PCVR streaming unlock.
- Subscription — harder to justify unless you add cloud features.
- Enterprise licensing — virtual workstations, CAD review, secure remote desktop for regulated industries. This is where the larger revenue sits.
Legal and Platform Considerations
Be aware going in:
- Headset store policies sometimes restrict apps that stream arbitrary PC content or compete with first-party features. Read the current developer policies carefully, and have a sideload/alternative-store distribution plan.
- Intercepting a VR runtime is sensitive territory. Use documented driver interfaces rather than undocumented hooks wherever possible.
- DRM-protected video content will appear as a black rectangle in captured frames. That's by design; don't try to work around it.
- Enterprise customers will ask about encryption at rest and in transit, device attestation, and audit logging. Design for it early.
A Realistic Roadmap
Phase 1 (6–10 weeks): Host captures the primary monitor, encodes H.264, streams over UDP on the LAN. Headset client decodes and renders on a flat quad. Mouse and keyboard injection works. Ugly but functional.
Phase 2 (8–12 weeks): Add audio round-trip, adaptive bitrate, FEC, HEVC, multi-monitor, a real 3D environment, discovery and pairing UX, and a settings panel.
Phase 3 (12–20 weeks): PCVR streaming via an OpenVR driver, pose prediction, timewarp, space warp, and the network diagnostics suite. This phase is where most projects underestimate the effort by a factor of three.
Phase 4 (ongoing): AV1, hand tracking, passthrough integration, media player features, additional headset platforms, enterprise features.
Final Thoughts
An app like Virtual Desktop is deceptively simple to describe and genuinely hard to build well. The differentiator is never the feature list — it's whether the experience feels solid. Users forgive a plain UI. They will not forgive a shimmering, stuttering, nausea-inducing stream.
Spend your engineering budget on the pipeline: capture without copies, encode with slices, transport without head-of-line blocking, predict pose accurately, and reproject relentlessly. Get those five things right and everything else is polish.
Have a project in mind? Contact Sodio Technologies to discuss your requirements and explore the right technology solution for your business.
/// Work with us
Talk to the engineers who'd build it
You'll get a technical scope, timeline and cost estimate from the people doing the work, not an account manager. In-house team, no subcontracting, since 2016.