

How to Make an App Like AR Ruler
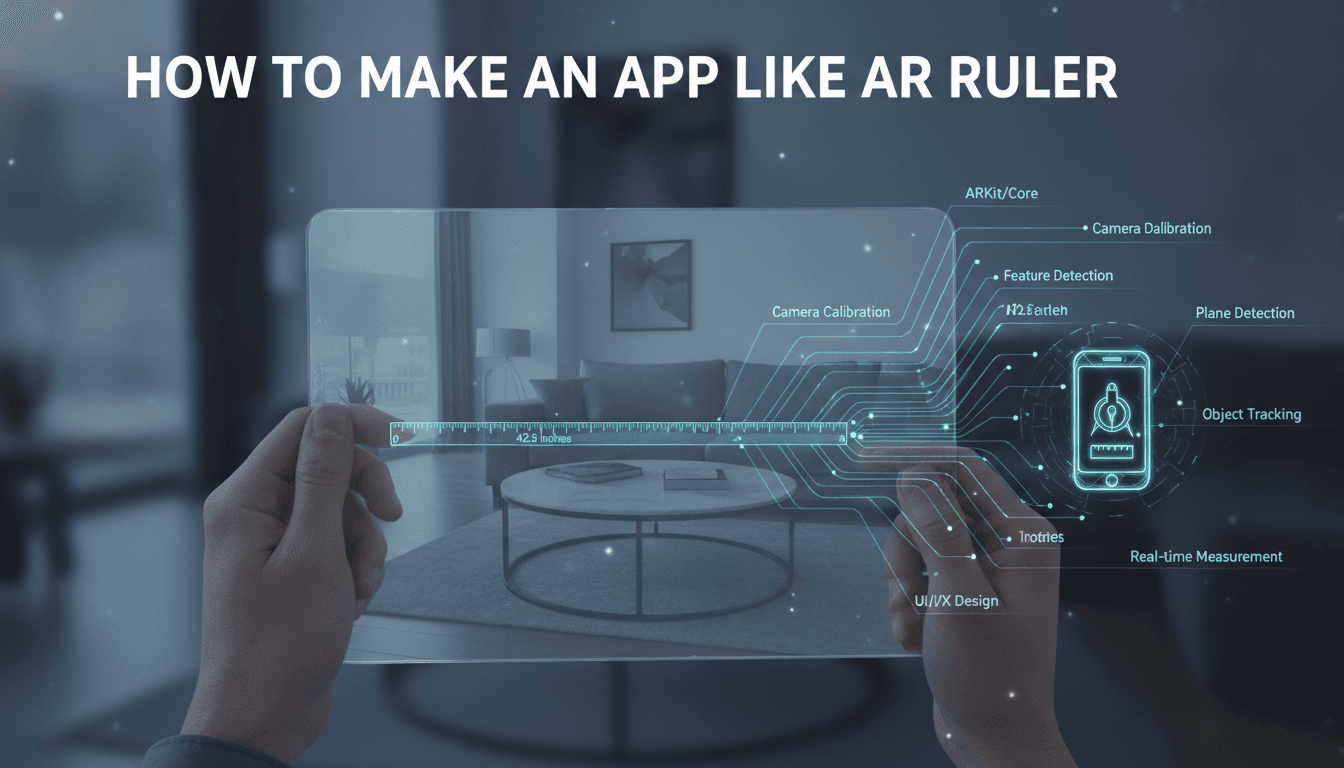
How to Make an App Like AR Ruler
Measuring tape is one of those tools everyone needs and no one can ever find. That simple, universal frustration is exactly why AR measuring apps like AR Ruler, Measure, and CamToPlan have racked up tens of millions of downloads. Point your phone at a wall, tap two points, and get a distance in centimeters or inches — no hardware required.
If you're considering building your own AR measurement app, the good news is that the underlying technology has matured dramatically. The challenging news is that users now expect near-tape-measure accuracy. This guide walks through what it actually takes to ship an app like AR Ruler.
To explore this further, see How to Make an App Like Measure.
What an AR Ruler App Actually Does
Before writing a line of code, it helps to break the product down into its core capabilities. Most successful AR measurement apps offer some combination of:
- Point-to-point distance — the flagship feature: tap two points in space, get a linear measurement
- Area and perimeter — tap multiple points to close a polygon on a detected plane
- Volume estimation — measure a cuboid by defining a base rectangle and a height
- Angle measurement — calculate the angle between three placed points
- Height detection — automatically measure a person's height or an object from floor to top
- Level tool — use the gyroscope for a digital spirit level
- Screenshot and annotation — save measurements as images with labels overlaid
- Unit conversion — metric, imperial, and fractional inches for contractors
- Measurement history — a saved log of past sessions, often with project grouping
Start with point-to-point and area. Those two cover the majority of real-world use cases and give you something shippable.
The Technology Behind the Magic
SLAM and Plane Detection
AR measurement relies on SLAM (Simultaneous Localization and Mapping). Your phone's camera feed is analyzed frame by frame to identify visual feature points, while the IMU (accelerometer and gyroscope) tracks device motion. Combining these lets the device build a sparse 3D map of the room and understand where it sits within that map.
Once the device understands its own position, it can detect planes — horizontal surfaces like floors and tables, and vertical ones like walls. Placing a measurement point means raycasting from the screen tap into the 3D scene and finding where that ray intersects a plane or feature point. The distance between two such world-space anchors is straightforward 3D vector math.
To explore this further, see How to Make an App Like ARKit.
Depth Sensors Change Everything
Devices with LiDAR (iPad Pro, iPhone Pro models) or time-of-flight sensors capture a true depth map rather than inferring geometry from parallax. This dramatically improves accuracy, works in low light, handles textureless white walls, and eliminates most of the initialization "wave your phone around" ritual.
We cover a closely related subject in How to Make an App Like RoomScan Pro.
Your app should detect sensor availability at runtime and gracefully degrade — use depth data when present, fall back to feature-point tracking when not.
Choosing Your Tech Stack
Native Development
iOS: ARKit + RealityKit
ARKit is the most polished AR framework available. It offers scene reconstruction, people occlusion, body tracking, and direct LiDAR access. Combined with RealityKit for rendering or SceneKit for more manual control, you get excellent tracking quality with relatively little code. Swift is the language of choice.
Android: ARCore + Sceneform / Filament
ARCore provides motion tracking, environmental understanding, light estimation, and the Depth API (which synthesizes depth even on single-camera devices). Device support is broader than you'd expect, but fragmentation is real — tracking quality varies noticeably across manufacturers. Kotlin with OpenGL ES or Filament for rendering is the typical path.
Cross-Platform Options
Unity with AR Foundation is the most common choice for teams that want one codebase. AR Foundation wraps ARKit and ARCore behind a unified API, and Unity's 3D tooling makes it easy to build the visual overlays — measurement lines, point markers, floating labels. The trade-off is larger binary size and a heavier runtime.
Unreal Engine is overkill for a utility app unless you need photorealistic rendering.
Flutter and React Native can host AR via plugins or native modules, which works well if AR is one feature inside a larger app. For an AR-first product, the plugin ecosystem is usually too thin.
Recommendation: If you're targeting both platforms with a small team, go Unity + AR Foundation. If accuracy and polish on iOS are your differentiators, go native ARKit first and build Android second.
Building the Core Measurement Flow
1. Session Initialization
Start the AR session with plane detection and scene depth enabled. Show an onboarding animation instructing the user to slowly move the device. Until tracking state reaches a confident level, block measurement input — nothing erodes trust faster than a wildly wrong first measurement.
2. Reticle and Hit Testing
Render a crosshair at the center of the screen. On every frame, raycast from that screen point into the scene. Snap the reticle to the intersection and change its appearance based on what it hit — a detected plane, an estimated plane, or a raw feature point. Give users honest visual feedback about confidence.
3. Placing Anchors
When the user taps, create a world anchor at the hit position. Anchors are critical: they let the AR framework continuously refine that point's position as it learns more about the environment, which keeps your measurement stable as the user walks around.
4. Rendering the Measurement
Draw a line between anchors — typically a thin scaled cylinder or a custom line renderer. Attach a billboarded text label at the midpoint that always faces the camera. Update the displayed value every frame so users see live feedback as they move.
5. Edge Snapping and Refinement
This is where good apps separate from great ones. Use the depth map or reconstructed mesh to detect nearby edges and corners, then snap placed points to them. Apply smoothing to reduce jitter. Offer a drag-to-adjust handle so users can nudge a point after placing it.
Accuracy: The Feature That Decides Everything
Users will test your app against a real tape measure within the first minute. Expect errors of 1–3% on non-LiDAR devices and under 1% with depth sensing. To maximize accuracy:
- Enforce a warm-up period before allowing measurements
- Reject low-confidence raycasts rather than guessing
- Use plane-anchored hits over feature-point hits whenever possible
- Detect and warn about poor conditions — low light, reflective surfaces, blank walls
- Average across frames to reduce jitter in the displayed value
- Offer a calibration mode where users measure a known object and you apply a correction factor
Be transparent about limitations. An app that says "move closer for better accuracy" earns more trust than one that silently reports the wrong number.
UI/UX Design Principles
AR interfaces have their own rules:
Keep the screen clear. The camera feed is the interface. Use a minimal bottom bar, floating action buttons, and collapsible panels.
Make the reticle the hero. It's the user's cursor in 3D space. Animate it, give it depth cues, make it obvious when it's locked onto a surface.
One-handed operation. People measure while holding objects, standing on ladders, or reaching into corners. All primary controls belong within thumb reach.
Undo everywhere. Tapping the wrong point is inevitable. A prominent undo button is non-negotiable.
Readable labels. High-contrast text with a subtle shadow or backing plate stays legible against any background.
Guide, don't lecture. Contextual hints that appear when tracking degrades beat a wall of tutorial text at launch.
Backend and Data Considerations
Many AR ruler apps work entirely offline, which is a genuine selling point. But if you want retention and monetization, a lightweight backend helps:
- Account and sync so measurements follow users across devices
- Project organization — group measurements by room, job site, or client
- Export pipeline — generate PDF reports, CSV data, or DXF/floor plan files
- Cloud storage for annotated screenshots and captured room meshes
- Analytics to understand which features actually get used
- Subscription management for premium tiers
A simple stack — Node.js or Python API, Postgres, S3-compatible object storage, Firebase for auth and push — covers all of this without much overhead.
Monetization Models
- Freemium with feature gating — free point-to-point, paid area, volume, and export. The most common model.
- Ad-supported free tier — interstitials between sessions, rewarded video to unlock a premium measurement
- Subscription — recurring revenue justified by cloud sync, unlimited projects, and PDF reports
- One-time unlock — simple and well-received by utility app users, though it caps lifetime value
- Pro vertical pricing — a dedicated tier for contractors, realtors, and interior designers with CAD export and branded reports
Professional users are the most valuable segment. A realtor measuring listings or a contractor quoting a job will happily pay a monthly fee that a casual user never would.
Development Timeline and Team
A realistic MVP breakdown:
| Phase | Duration |
|---|---|
| Discovery and prototyping | 2–3 weeks |
| Core AR measurement engine | 4–6 weeks |
| UI/UX design and implementation | 3–4 weeks |
| Backend and sync | 2–3 weeks |
| Testing, calibration, device QA | 3–4 weeks |
| Store submission and launch | 1–2 weeks |
Total: roughly 3–5 months for a polished single-platform MVP, with a team of an AR developer, a mobile developer, a designer, a backend developer, and a QA engineer.
Testing on Real Devices
Emulators are useless for AR. You need a device lab covering:
- LiDAR and non-LiDAR iPhones and iPads
- Android flagships and mid-range devices from multiple manufacturers
- Old and new OS versions
Test in realistic conditions: bright sunlight, dim interiors, glossy floors, glass surfaces, plain white walls, cluttered rooms, and large open spaces. Keep a physical tape measure on hand and log accuracy deltas systematically across devices and environments.
Common Pitfalls to Avoid
- Allowing measurements before tracking stabilizes — the fastest way to a one-star review
- Ignoring thermal throttling — sustained AR sessions heat devices and degrade tracking
- Overloading the scene with heavy 3D assets that tank frame rate
- Neglecting accessibility — support dynamic type, VoiceOver announcements of measured values, and colorblind-safe indicators
- Forgetting camera permission copy — explain clearly why you need camera access
- Skipping battery optimization — pause the AR session when the app backgrounds
Differentiating Your App
The basic AR ruler category is crowded. Winning entries usually add something specific:
- Room scanning that outputs a full floor plan from a walkthrough
- Furniture fitting that checks whether a specific product fits a measured space
- Industry templates for roofing, flooring, window treatments, or moving estimates
- Collaboration so a contractor and client can review measurements together
- AI object recognition that identifies and auto-measures common items
- Integration with CAD tools, estimating software, or e-commerce catalogs
Pick a vertical, solve its workflow completely, and you'll outperform a generic ruler with more features.
Final Thoughts
Building an app like AR Ruler is a deceptively deep engineering challenge wrapped in a simple interface. The frameworks handle the hardest computer vision problems for you, but accuracy, stability, and trust come from careful attention to tracking states, snapping logic, edge cases, and honest feedback.
Start narrow, obsess over measurement quality, test relentlessly on real hardware, and find a professional niche willing to pay for precision. Do that, and you'll have a utility app people actually keep on their home screen.
Have a project in mind? Contact Sodio Technologies to discuss your requirements and explore the right technology solution for your business.
/// Work with us
Talk to the engineers who'd build it
You'll get a technical scope, timeline and cost estimate from the people doing the work, not an account manager. In-house team, no subcontracting, since 2016.