

How to Make an App Like Google Earth VR
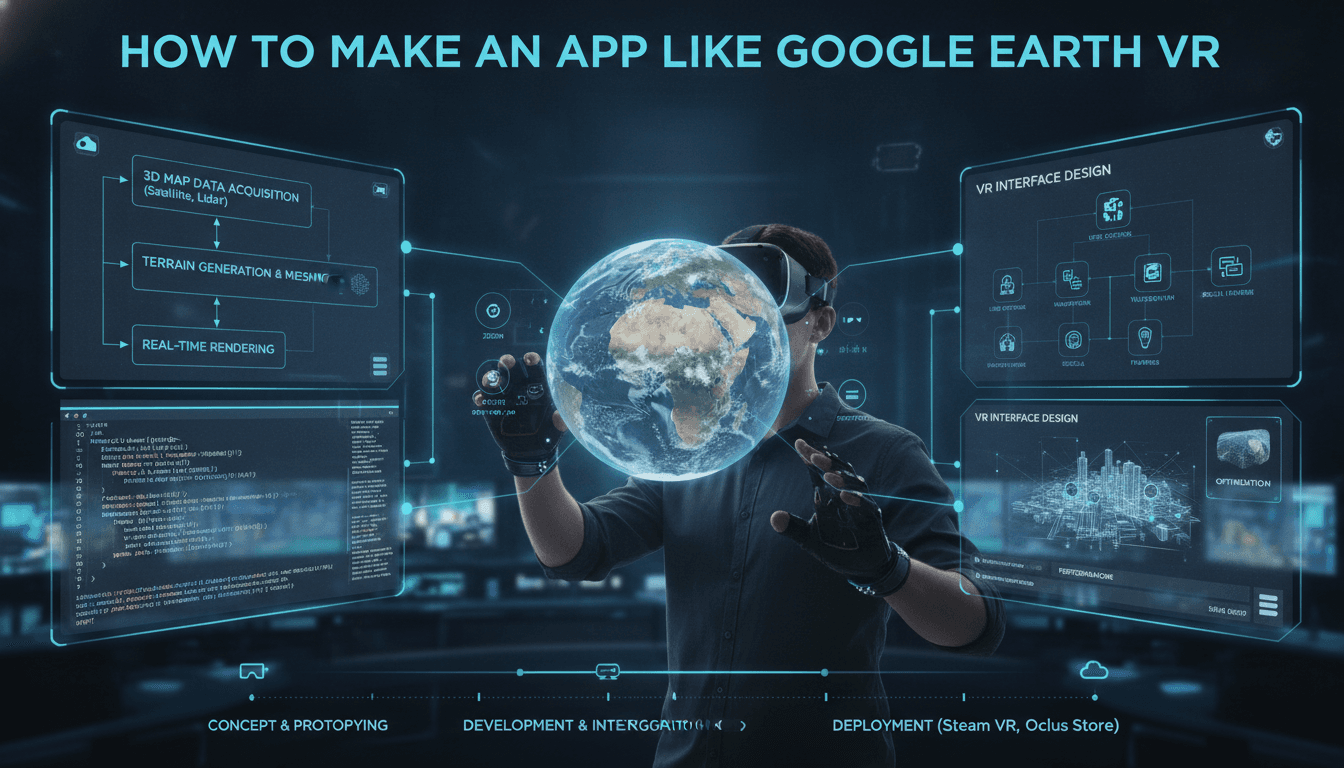
How to Make an App Like Google Earth VR
Few virtual reality experiences capture the sheer sense of wonder that Google Earth VR delivers. One moment you're hovering above the Grand Canyon, the next you're standing in the street where you grew up. It's the kind of app that turns skeptics into believers within thirty seconds of putting on a headset.
If you're considering building something similar — whether it's a global exploration platform, a virtual tourism product, or an immersive geospatial tool for industry — this guide walks through what it actually takes to get there.
What Makes Google Earth VR Work
Before writing a single line of code, it helps to understand what you're really recreating. Google Earth VR isn't simply a 3D map rendered in stereo. It's a carefully engineered system built on several pillars:
- Massive streaming geospatial data — terabytes of satellite imagery, elevation models, and photogrammetric 3D meshes delivered on demand
- Level-of-detail (LOD) management — loading only what the user can see, at only the resolution they need
- Comfort-first locomotion — flying, teleporting, and scaling the world without inducing motion sickness
- Intuitive hand-based controls — grabbing the planet and pulling yourself toward it feels natural because it mirrors physical intuition
Every technical decision in your project should trace back to one of these four pillars.
Step 1: Define Your Scope and Niche
Competing head-on with Google's planetary dataset is not a realistic starting point. The successful apps in this space narrow their focus:
| Niche | Example Use Case |
|---|---|
| Virtual tourism | Guided immersive tours of heritage sites |
| Real estate | Walkthroughs of properties in geographic context |
| Education | Geography, geology, and climate science lessons |
| Urban planning | City-scale visualization of proposed developments |
| Field operations | Infrastructure inspection and asset management |
Pick one and go deep. A polished VR experience covering fifty cities beats a shallow one covering the globe.
Step 2: Source Your Geospatial Data
Your app is only as good as the data behind it. Common sources include:
Free and open data
- OpenStreetMap for vector road, building, and POI data
- NASA SRTM and Copernicus DEM for elevation models
- Sentinel and Landsat for satellite imagery
- USGS 3DEP for high-resolution LiDAR in the US
Commercial providers
- Cesium ion for streamed 3D tiles and terrain
- Mapbox for imagery and vector tiles
- Maxar, Airbus, and Planet for high-resolution satellite captures
- Nearmap and Vexcel for oblique aerial photogrammetry
Your own capture For a focused niche, drone photogrammetry or LiDAR scanning can produce dramatically better fidelity than anything commercially available — and it's yours to own.
Be very careful with licensing. Many map providers explicitly restrict VR rendering, offline caching, or derivative 3D use. Read the terms before building on top of an API.
Step 3: Choose Your Technology Stack
Game Engine
Unity remains the most common choice for VR. Its XR Interaction Toolkit, broad device support, and deep asset ecosystem make it a fast path to a working prototype. The Cesium for Unity plugin is a genuine shortcut for streaming global 3D tiles.
Unreal Engine offers superior out-of-the-box visual fidelity, excellent large-world support via World Partition and Large World Coordinates, and Cesium for Unreal. If photorealism is central to your pitch, Unreal is worth the steeper learning curve.
WebXR (Three.js, Babylon.js, A-Frame) is the right call if frictionless access matters more than raw fidelity. No install, works across headsets and desktop, but you'll be fighting for every frame.
Target Platforms
- PC VR (SteamVR, Meta Link) — maximum horsepower, smaller audience
- Standalone (Quest 3, Pico) — the largest user base, but mobile-class GPUs demand aggressive optimization
- Apple Vision Pro — high-fidelity mixed reality, premium demographic, RealityKit or Unity PolySpatial
Supporting Infrastructure
- CDN for tile delivery (CloudFront, Cloudflare)
- Object storage for pre-processed tiles (S3, GCS)
- A tiling pipeline to convert raw data into 3D Tiles or a custom quadtree format
- Backend services for user accounts, saved locations, and analytics
Step 4: Solve the Hard Rendering Problems
Floating Point Precision
This will bite you early. Standard 32-bit floats break down at planetary scale — objects jitter visibly when you're millions of units from the origin. Solutions:
- Floating origin: continuously re-center the world around the camera
- Double precision coordinates: convert to single precision only at render time
- Unreal's Large World Coordinates: handles much of this automatically
Streaming and Level of Detail
Implement a hierarchical LOD system — typically a quadtree over the globe. As the camera moves, tiles are requested, decoded, and swapped in based on screen-space error. Key techniques:
- Predictive prefetching based on velocity and gaze direction
- Asynchronous loading on worker threads so the main loop never stalls
- Smooth geomorphing between LOD levels to avoid visible popping
- Aggressive memory budgets with LRU eviction on standalone hardware
Maintaining Frame Rate
VR is unforgiving. Drop below 72–90 FPS and users feel it physically. Your toolkit:
- GPU instancing for repeated geometry like trees and buildings
- Occlusion culling and frustum culling at the tile level
- Texture compression (ASTC on mobile GPUs, BC7 on desktop)
- Fixed foveated rendering, or eye-tracked foveation where supported
- Single-pass instanced stereo rendering
Step 5: Design Comfortable Locomotion
This is where most Earth-scale VR apps succeed or fail. Google Earth VR nailed it with a simple insight: let users manipulate the world rather than move themselves through it.
Grab-and-pull navigation — grip a controller, pull the planet toward you. Two-handed grab scales and rotates. It feels like handling a physical globe.
Fly mode — point and glide with gentle acceleration curves. Always pair with a vignette that narrows peripheral vision during motion; it dramatically reduces nausea.
Teleport — instant, comfortable, and great for accessibility. Offer it as an always-available fallback.
Scale awareness — movement speed should scale with altitude. Moving at street level and orbital level require wildly different velocities, and the transition should feel seamless.
Additional comfort measures worth building in: a snap-turn option, an adjustable comfort vignette intensity slider, a stable horizon reference, and a seated mode.
Step 6: Build the Interaction Layer
Beyond movement, users need to do things:
- Search — a VR-friendly keyboard is painful; prioritize voice input and curated location lists
- Bookmarks — save and return to favorite viewpoints
- Time of day and season — a sun-position slider is a surprisingly compelling feature
- Measurement tools — essential for professional and industrial use cases
- Annotation and sharing — let users drop pins, leave notes, and share coordinates
- Guided tours — scripted camera paths with narration convert first-time users into repeat ones
Keep UI diegetic where possible. Floating panels locked to the face break immersion; a wrist-mounted menu or a handheld tablet metaphor works far better.
Step 7: Test Relentlessly
VR testing has requirements that flat-screen apps don't:
- Comfort testing with real users across a range of VR tolerance, measured with the Simulator Sickness Questionnaire
- Performance profiling on your lowest-spec target device, not your development machine
- Session length testing — memory leaks and thermal throttling only reveal themselves after twenty minutes
- Network resilience — what happens on a poor connection, or when a tile request fails?
- Accessibility — seated play, one-handed operation, colorblind-safe UI, adjustable text scale
Step 8: Plan Your Monetization
Google Earth VR is free because it serves Google's broader ecosystem. You'll likely need a different model:
- Freemium — free global browsing, paid high-resolution regions or premium content packs
- Subscription — ongoing access with regular new location drops
- B2B licensing — enterprise deployments for planning, training, or real estate
- White-label — license your engine to tourism boards, municipalities, or developers
- Sponsored content — destinations pay for immersive placement
The B2B path is consistently the most viable for early-stage teams. Enterprise budgets are larger, users are more tolerant of rough edges, and requirements are clearer.
Realistic Timeline and Budget
| Phase | Duration | Focus |
|---|---|---|
| Discovery & prototype | 4–6 weeks | Validate locomotion and streaming feel |
| Core development | 4–6 months | Data pipeline, rendering, interaction |
| Content & polish | 2–3 months | Locations, tours, UI refinement |
| Testing & launch | 6–8 weeks | Optimization, store submission, marketing |
A focused MVP typically lands in the range of a serious mid-size software project. A full multi-platform product with proprietary data capture costs considerably more. The single biggest cost variable is almost always data — licensing it, capturing it, or processing it.
Common Pitfalls to Avoid
- Underestimating the data pipeline. Teams budget for the VR app and forget that converting raw geospatial data into streamable tiles is its own substantial engineering effort.
- Building for PC VR first. The audience is on standalone headsets. Design for mobile-class GPUs from day one; scaling up is far easier than scaling down.
- Ignoring comfort until late. Locomotion isn't a polish-phase feature. Prototype it in week one.
- Photorealism over performance. A smooth 90 FPS at moderate fidelity beats a stuttering 45 FPS at high fidelity every single time.
- No reason to come back. Awe fades. Build in fresh content, social features, or genuine utility.
Final Thoughts
Building an app like Google Earth VR is genuinely ambitious, but it's no longer out of reach for a capable team. Cesium, Unity, Unreal, and modern standalone headsets have collapsed a problem that once required a division at a major tech company into something a focused studio can ship.
The technology is solvable. The real differentiator is knowing exactly who you're building for and giving them a reason to put the headset on tomorrow, and the day after that. Start narrow, nail the feel of movement, and let the scope grow from there.
Have a project in mind? Contact Sodio Technologies to discuss your requirements and explore the right technology solution for your business.
/// Work with us
Talk to the engineers who'd build it
You'll get a technical scope, timeline and cost estimate from the people doing the work, not an account manager. In-house team, no subcontracting, since 2016.