

How to Make an App Like SketchAR
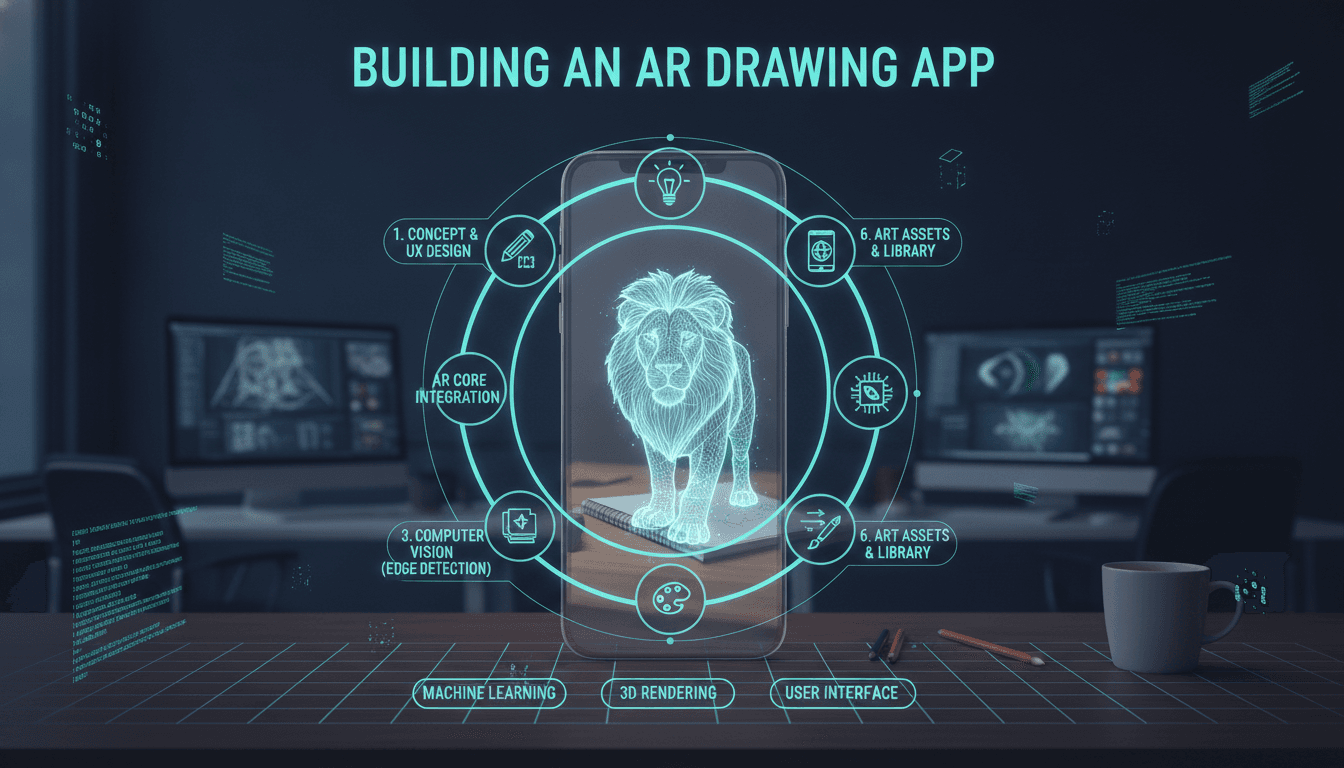
How to Make an App Like SketchAR
SketchAR turned a simple idea into one of the most downloaded creative apps on mobile: point your phone at a blank sheet of paper, and an augmented reality overlay shows you exactly where to draw. No tracing paper, no grid method, no art school required.
If you're planning to build something similar — an AR-assisted drawing app, a creative learning tool, or a niche variant for tattoo artists, muralists, or kids — this guide walks through what actually goes into it: features, tech stack, AI components, timelines, and costs.
Related reading: How to Make an App Like Inkhunter.
What SketchAR Actually Does
Before designing your own version, it helps to break the product down into its real mechanics rather than its marketing.
Core loop: A user picks or uploads an image, the app converts it into a line sketch, and AR projects that sketch onto a physical surface viewed through the camera. The user traces what they see on screen onto real paper.
Supporting layers that keep users coming back:
- Step-by-step drawing lessons and courses
- AI-generated art and style transfer
- Neural network sketch conversion (photo → outline)
- A social feed for sharing finished work
- Gamified progress, streaks, and achievements
- Subscription-based premium content
The AR tracing is the hook. The lessons, community, and AI tools are what turn a one-time novelty download into a retained, paying user. Plan for both from day one.
Step 1: Pick Your Positioning
"An app like SketchAR" is a category, not a product. The market is crowded enough that a straight clone will struggle. Pick an angle:
| Angle | Target User | Differentiator |
|---|---|---|
| Kids' creative learning | Ages 5–12, parents | Safe content, curriculum tie-ins, no social feed |
| Tattoo stencil preview | Tattoo artists and clients | Body-surface tracking, placement preview |
| Mural and large-format | Street artists, sign painters | Scale projection, wall anchoring |
| Calligraphy and lettering | Hobbyists, designers | Stroke order, pressure guidance |
| Academic art education | Schools, art programs | Teacher dashboards, assignments, grading |
| Anime and character art | Teen and young adult hobbyists | Style-specific lesson libraries |
Narrow positioning also reduces your content production burden, which is usually the hidden cost in this category.
Step 2: Define the Feature Set
MVP Features
Keep the first release tight. You need to validate that people will actually hold their phone up and draw.
Onboarding
- Skill-level selection (beginner, intermediate, advanced)
- Interest selection to personalize the lesson feed
- Quick AR calibration tutorial
Image to Sketch
- Built-in template library organized by category and difficulty
- Photo upload from camera roll
- Edge-detection / line-extraction conversion
- Adjustable line thickness and detail level
AR Drawing Mode
- Surface detection and plane anchoring
- Sketch overlay with opacity, scale, and rotation controls
- Lock/unlock anchor so the overlay stays put when the phone moves
- Marker-based fallback (print a QR-style marker) for devices with weak tracking
Guided Lessons
- Multi-step drawing breakdowns
- Progress saving per lesson
- Before/after comparison capture
Profile and Gallery
- Save completed drawings
- Personal progress history
- Basic sharing to external social platforms
Phase Two Features
- AI art generation from text prompts
- Style transfer (turn a photo into a watercolor, anime, or sketch style)
- In-app social feed with likes, comments, and follows
- Challenges, contests, and streaks
- Video recording of the drawing session for time-lapse sharing
- Apple Pencil / stylus support for on-screen drawing mode
- Offline lesson downloads
Phase Three Features
- Collaborative AR sessions (multiple users seeing the same overlay)
- Teacher/classroom mode with assignment distribution
- Marketplace for community-created lesson packs
- Smart glasses support for hands-free tracing
- Real-time feedback that scores accuracy against the reference
Step 3: Solve the Hard Technical Problem First
Everything else in this app is standard mobile development. The AR tracing experience is where projects fail. Prototype it in week one.
For a closer look at a related topic, read our guide on How to Make an App Like Prisma.
The Core Challenge
You are asking a handheld device to hold a virtual image perfectly still relative to a blank white sheet of paper. Blank paper is the worst possible surface for computer vision — it has almost no trackable feature points. Meanwhile, the user's hand and pencil keep entering the frame and occluding the surface.
Practical Approaches
1. Plane detection with feature anchoring (ARKit / ARCore) Works well when the paper sits on a textured surface like a wooden desk. Detect the desk plane, anchor the sketch to it, and let the paper ride along. Degrades badly on plain white tables.
2. Marker-based tracking Have the user place a printed marker or a recognizable object (a coin, a phone, a sticker) next to the paper. Far more stable, at the cost of a small friction step in onboarding. Many production apps use this as the default rather than the fallback.
3. Paper edge detection Detect the rectangular contour of the sheet itself and use its corners as anchor points. Elegant when it works, fragile with low contrast or partial occlusion.
4. Phone stand mode Sidestep tracking drift entirely. Instruct the user to prop the phone in a stand, then freeze the overlay. Not "true" AR, but dramatically more usable for long drawing sessions. Ship this as a mode, not an apology.
A strong product offers two or three of these and lets the environment decide. Build a device-capability check at launch that routes users to the mode most likely to work on their hardware.
Image to Line Art
You have three options, and most products end up combining them:
- Classical computer vision: Canny edge detection, adaptive thresholding, contour simplification. Fast, runs on-device, free, and looks mechanical on complex images.
- Neural line extraction: A trained model that produces clean, artist-like outlines. Much better output. Run it on-device with Core ML / TensorFlow Lite for speed, or server-side for quality.
- Third-party APIs: Fastest route to launch, but adds per-call cost and a network dependency.
Ship classical CV for instant previews and the neural model for final conversion. Users perceive the wait as "the AI is working."
Step 4: Choose the Tech Stack
Mobile Client
| Approach | When to Choose It |
|---|---|
| Native Swift + ARKit, Kotlin + ARCore | Best AR performance and earliest access to new AR features. Two codebases. |
| Unity with AR Foundation | Strong choice if you want one 3D-capable codebase, rich rendering, and easier cross-platform AR. |
| Flutter or React Native + native AR modules | Good if most of the app is standard UI and only one screen is AR. |
For an AR-first product, native or Unity is usually the right call. A hybrid pattern also works well: Flutter or React Native for lessons, profile, feed, and payments, with a native AR module bridged in for the drawing screen.
Backend
- API layer: Node.js with NestJS, or Python with FastAPI if your ML pipeline is Python-heavy
- Database: PostgreSQL for users, lessons, and progress
- Object storage: S3 or Cloud Storage for images, sketches, and lesson assets
- CDN: Essential — template libraries and lesson thumbnails are image-heavy
- Cache: Redis for feeds, leaderboards, and session state
- ML serving: Containerized inference endpoints with GPU autoscaling, or managed endpoints on your cloud of choice
- Auth: Managed identity provider with Apple, Google, and email sign-in
- Analytics: Event tracking plus session replay so you can see where AR calibration fails
AI Components
- Line extraction model (photo → sketch)
- Style transfer models for the creative tools
- Text-to-image generation, typically via a third-party API at first
- Optional: an accuracy-scoring model comparing the user's photographed drawing against the reference
Host generation server-side. Keep lightweight conversion on-device so the core loop works offline.
Step 5: Design for a Hand Holding a Pencil
AR drawing apps have unusual UX constraints. Your user has one hand on the phone, one hand on a pencil, and their attention on paper — not on your interface.
Design principles that matter here:
- Oversized touch targets. Users tap with their non-dominant hand at awkward angles.
- Minimal chrome in AR mode. Every pixel of UI hides the sketch they're tracing.
- Sticky controls. Nothing should require a two-finger gesture while holding a pencil.
- Voice or volume-button triggers. Let users advance a lesson step without touching the screen.
- Clear recovery states. When tracking is lost, say what to do — "move the phone slowly" or "add an object next to your paper" — not just "tracking lost."
- Session-length awareness. Drawing takes 20 to 60 minutes. Prevent screen sleep, manage thermals, warn on low battery.
- Onboarding that teaches, not tells. A 60-second interactive first drawing beats a five-screen carousel.
Also plan for the "my arm is tired" problem. Phone stand mode, tripod guidance, and a printable practice sheet all reduce physical friction.
Step 6: Build the Content Engine
This is the part teams underestimate. An AR engine with twelve templates is a demo. A content library with structured, progressive lessons is a product.
What you need:
- 150 to 400 templates at launch, tagged by category, difficulty, and style
- 20 to 50 structured multi-step lessons
- A CMS so non-engineers can publish lessons without app releases
- Clear licensing for every reference image — this is a real legal risk with art content
- A pipeline for community submissions once you have an audience
Budget for an art director and illustrators, not just developers. Content quality is your retention lever.
Step 7: Monetization
The proven model in this category is freemium subscription.
Free tier: Limited daily AR sessions, a subset of templates, basic lessons, watermarked exports.
Subscription ($5–10/month, $30–60/year): Unlimited AR sessions, full library, all lessons, AI generation credits, no watermarks, offline downloads.
Additional revenue streams:
- One-time lesson packs or artist collaborations
- Credit packs for AI generation
- Print-on-demand of finished artwork
- Physical sketchbook or marker-kit bundles
- Education and institutional licensing
- Brand partnerships with art-supply companies
Put the paywall after the first successful drawing, not before it. The aha moment is watching a sketch appear on your own paper — sell after that happens.
Step 8: Timeline and Cost
Rough ranges for a competent product team. Actuals vary widely with content volume and AI ambition.
| Phase | Duration | Notes |
|---|---|---|
| Discovery and AR prototype | 3–4 weeks | Validate tracking on real devices before anything else |
| UX and UI design | 4–6 weeks | Includes AR interaction design and design system |
| MVP development | 12–16 weeks | Core loop, lessons, profile, payments |
| ML integration | 4–8 weeks | Overlaps with development |
| Content production | 8–12 weeks | Runs in parallel |
| QA and device testing | 4–6 weeks | Wide device matrix for AR capability |
| Launch and stabilization | 2–4 weeks | Store review, analytics, hotfixes |
Indicative cost ranges:
- Single-platform MVP with basic AR and classical CV: $60,000–$110,000
- Cross-platform MVP with neural line extraction and lessons: $110,000–$200,000
- Full product with AI generation, social feed, and large content library: $200,000–$400,000+
Ongoing costs to plan for: cloud and GPU inference, CDN bandwidth, content production, app store fees, and continuous AR SDK updates as ARKit and ARCore evolve.
We cover a closely related subject in How to Make an App Like WallaMe.
Step 9: Testing AR Properly
Standard QA misses AR bugs. Build a deliberate test matrix.
Vary these dimensions:
- Device tier — flagship, mid-range, three-year-old hardware
- Lighting — bright daylight, dim indoor, mixed shadow, direct lamp glare
- Surface — wood desk, glass table, white tablecloth, carpet, easel
- Paper — A4, sketchbook, canvas, sticky note
- Duration — 45-minute sessions to catch drift, thermal throttling, and battery drain
- Motion — deliberate movement, accidental bumps, occlusion by hand and pencil
Instrument the app to report tracking-loss events with context. Those logs will drive your most valuable improvements post-launch.
Common Mistakes to Avoid
- Treating AR as a feature instead of the core risk. Prototype it first, on real devices, on real paper.
- Ignoring low-end hardware. A large share of your addressable market can't run high-fidelity AR.
- Launching with a thin content library. Users exhaust twelve templates in one sitting.
- No stand or frozen-overlay mode. Holding a phone steady for 40 minutes is genuinely hard.
- Unlicensed reference images. An art app is exactly the wrong place to be careless about IP.
- Paywalling before the aha moment. Let them finish one drawing.
- Skipping the social layer entirely. Sharing finished art is the cheapest acquisition channel you have.
Go-to-Market Notes
Creative apps live or die on visual proof. Your marketing asset is a 15-second clip of a sketch appearing on paper and a hand tracing it.
- Short-form video on TikTok, Reels, and YouTube Shorts is the primary channel
- Partner with art and hobby creators for authentic demonstrations
- App Store Optimization around "learn to draw," "trace," "drawing tutorial," and "AR art"
- Pitch Apple and Google for editorial features — AR creative tools get featured regularly
- Seed a hashtag challenge so user work becomes your ad inventory
- Approach schools and art programs for institutional pilots
Final Thoughts
Building an app like SketchAR is a two-part challenge. The first part is engineering: making a virtual sketch sit convincingly still on a blank sheet of paper across hundreds of device and lighting combinations. The second part is editorial: producing enough high-quality, progressively structured content that people keep drawing after the novelty fades.
Teams that only solve the first part ship an impressive demo that churns in a week. Teams that solve both build a habit — and a subscription business.
Start with a two-week AR spike on real hardware. If you can hold a stable overlay on paper in three different rooms, you have a product worth building. Everything after that is execution.
Have a project in mind? Contact Sodio Technologies to discuss your requirements and explore the right technology solution for your business.
/// Work with us
Talk to the engineers who'd build it
You'll get a technical scope, timeline and cost estimate from the people doing the work, not an account manager. In-house team, no subcontracting, since 2016.