

How to Make an App Like WallaMe
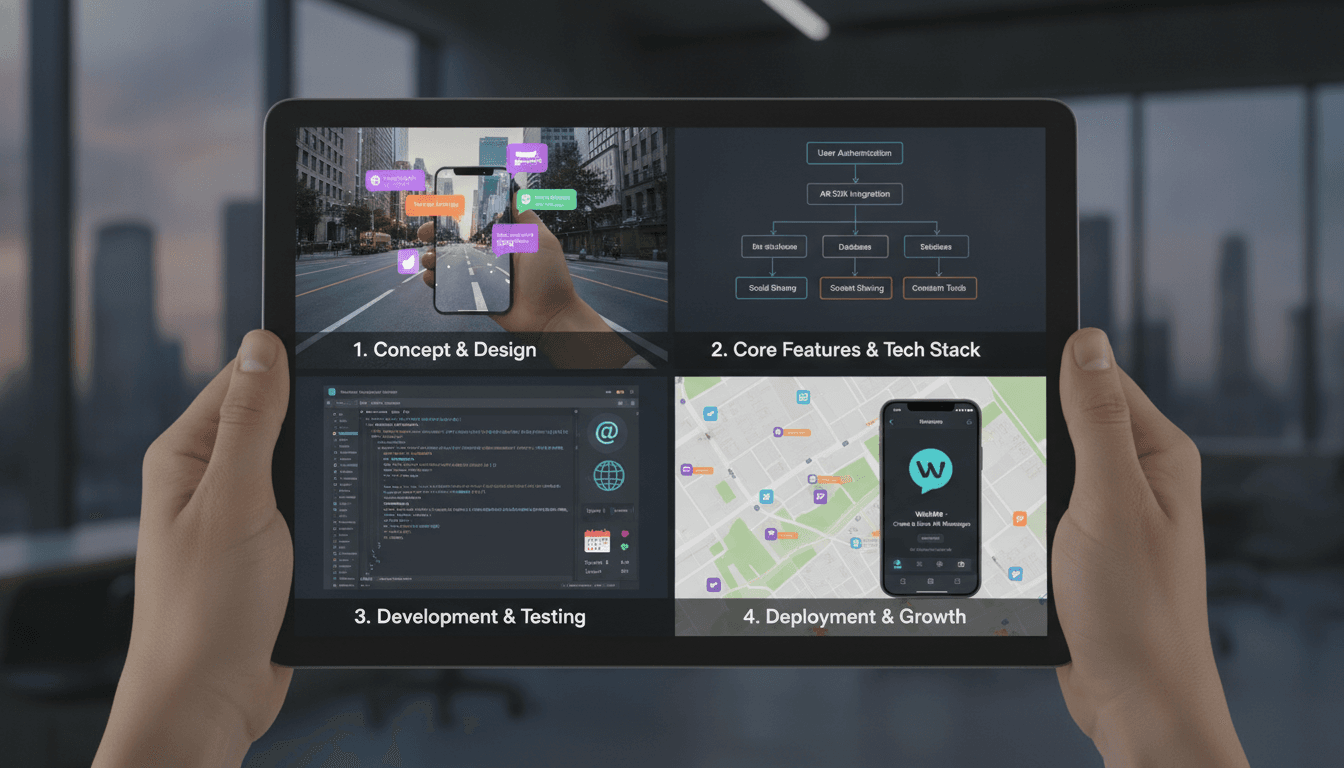
How to Make an App Like WallaMe
Imagine leaving a secret message on a wall, a park bench, or your favorite coffee shop counter — invisible to everyone except the people who physically walk to that exact spot and hold up their phone. That's the magic behind WallaMe, the location-based augmented reality messaging app that turned the entire world into a hidden canvas.
If you're looking to build something similar, you're stepping into an interesting intersection of augmented reality, geolocation, image recognition, and social networking. This guide walks through what WallaMe actually does under the hood, the features you'll need, the tech stack that makes it possible, and what it realistically costs to build.
What Is WallaMe and Why Did It Catch On?
WallaMe let users "hide" messages, drawings, and images in real-world locations. Another user standing in that same place could point their camera at the surface and reveal the hidden content layered on top of reality.
You may also find our article on How to Make an App Like GIPHY World useful.
The appeal was built on three psychological hooks:
- Secrecy — content isn't visible unless you're physically present
- Discovery — the thrill of stumbling on a hidden message
- Place-based identity — messages become tied to meaningful locations
That combination is what you need to replicate, not just the AR camera view. The technology is the delivery mechanism; the emotional payoff is the product.
Core Features to Build
1. User Onboarding and Profiles
Keep signup frictionless. Social login, phone number verification, or email are all fine, but AR discovery apps live and die by how quickly a user can get to their first "wow" moment. Profiles should include a username, avatar, friends or followers list, and privacy controls.
2. Camera-Based AR Layer
This is the heart of the app. When a user opens the camera at a tagged location, the app should:
- Detect the device's GPS position and orientation
- Query the backend for nearby hidden content
- Match the live camera feed against the stored reference image of the surface
- Overlay the hidden content in the correct position and perspective
Image matching is what separates a genuine WallaMe clone from a simple map-pin app. When a user hides a message, you capture a reference photo of the wall or surface. Later, feature-detection algorithms compare the live feed to that reference and anchor the overlay accordingly.
If this is relevant to your project, check out How to Make an App Like Pokémon Go.
3. Content Creation Tools
Users need a lightweight editor to create what they're hiding:
- Freehand drawing with brush sizes and color picker
- Text with font and color options
- Stickers and emoji
- Photo import from the gallery
- Layering and erasing
Keep the toolset small. Over-featured editors slow down the create-and-hide loop that makes the app addictive.
4. Geolocation and Geofencing
Every piece of content is anchored to coordinates. You'll need:
- Accurate GPS capture at the moment of creation
- Radius-based retrieval so the app only downloads content within, say, 50–100 meters
- Geofence notifications that alert users when they walk near hidden content
- Indoor fallback using Wi-Fi and cell triangulation, since GPS degrades indoors
5. Discovery Map
Not everything should be invisible. A map view showing clusters of hidden content — without revealing the content itself — drives exploration. Show heat zones, pin counts, and "walls near you" so users have a reason to travel.
6. Privacy and Sharing Controls
Let creators choose who can reveal content:
- Public (anyone in range)
- Friends only
- Specific users or groups
- Time-limited content that expires
7. Social Layer
Likes, comments, reactions, follower feeds, and the ability to share a discovered wall to other platforms. Social mechanics are what turn a novelty into a habit.
8. Push Notifications
"There's a hidden message 40 meters away." That single notification type is arguably the most important growth lever in the entire app. Use it sparingly and precisely, or users will disable notifications entirely.
We cover a closely related subject in How to Make an App Like SketchAR.
9. Moderation and Reporting
Location-anchored anonymous content invites abuse. Build in reporting, automated image moderation, keyword filtering, and a review queue from day one — not as a version two patch.
Technology Stack
Mobile Front End
| Layer | Options |
|---|---|
| Native iOS | Swift, ARKit, Core Location |
| Native Android | Kotlin, ARCore, Fused Location Provider |
| Cross-platform | Flutter or React Native with native AR modules |
For a true AR experience with reliable image tracking, native development or a hybrid approach with native AR bridges gives the best performance. Unity with AR Foundation is another strong option if you want a single AR codebase across both platforms.
AR and Computer Vision
- ARKit / ARCore — plane detection, motion tracking, light estimation
- Vuforia or ARCore Augmented Images — reference image tracking
- OpenCV — custom feature matching and image comparison
- Cloud anchors — for persistent, shared AR content across devices
Backend
- Runtime: Node.js, Python (Django/FastAPI), or Go
- Database: PostgreSQL with PostGIS, or MongoDB with geospatial indexes
- Caching: Redis for nearby-content queries
- Storage: AWS S3 or Google Cloud Storage for images and overlays
- CDN: CloudFront or Cloudflare for fast asset delivery
- Real-time: WebSockets or Firebase for live notifications
Geospatial queries will be your hottest code path. Index them properly, cache aggressively, and use bounding-box prefiltering before precise distance calculations.
Third-Party Services
- Mapbox or Google Maps SDK for the discovery map
- Firebase Cloud Messaging / APNs for push
- Cloud vision APIs for automated content moderation
- Analytics via Mixpanel, Amplitude, or Firebase
Development Process
Phase 1: Discovery and Planning
Define your differentiator. A WallaMe clone with no twist is a hard sell. Are you focused on tourism, campus communities, brand activations, dating, or scavenger hunts? Narrow positioning makes marketing possible.
Phase 2: UI/UX Design
AR apps need a different design language. Most of the screen is a live camera feed, so controls must be minimal, high-contrast, and thumb-reachable. Design the empty state carefully — a user in an area with no hidden content should still feel invited to create.
Phase 3: MVP Development
Build the smallest loop that proves the concept: create content, anchor it to a location, walk away, come back, reveal it. Get that working end-to-end before adding social features.
Phase 4: Testing
Field testing is non-negotiable. Test in bright sun and low light, on textured brick and blank white walls, in dense urban canyons where GPS drifts, and on mid-range Android devices with weaker sensors.
Phase 5: Launch and Iterate
Launch in a single city or campus. Location-based social apps need density — a hundred active users in one neighborhood beats ten thousand scattered globally.
Key Technical Challenges
GPS accuracy. Consumer GPS is accurate to roughly 5–10 meters in good conditions and far worse between tall buildings. Combine GPS with image recognition so the visual match does the precision work.
Persistent AR anchors. Keeping a virtual object in the exact same real-world spot across sessions and devices is genuinely hard. Cloud anchor services help, but they have time limits and coverage constraints.
Battery drain. Camera plus GPS plus network is the most power-hungry combination on a phone. Throttle location polling, batch network requests, and drop out of AR mode when idle.
The cold-start problem. An empty map is a dead app. Seed content in your launch city, partner with local venues, and run creation campaigns before opening the doors.
Lighting and surface variability. A wall photographed at noon looks different at dusk. Use robust feature descriptors and store multiple reference captures where possible.
Monetization Options
- Branded walls — businesses pay to place AR content at their locations
- Premium features — advanced drawing tools, longer content lifespans, larger discovery radius
- Sponsored scavenger hunts — campaigns with rewards for finding hidden content
- In-app purchases — sticker packs, filters, effects
- Location analytics — anonymized foot-traffic insights for venue partners
Cost and Timeline Estimates
| Scope | Timeline | Approximate Cost |
|---|---|---|
| MVP, single platform | 3–4 months | $35,000 – $60,000 |
| MVP, both platforms | 4–6 months | $60,000 – $95,000 |
| Full-featured with social + moderation | 7–10 months | $100,000 – $180,000 |
Costs vary significantly by team location, AR complexity, and how much custom computer vision work you need versus off-the-shelf SDKs.
Tips for Standing Out
- Pick a vertical. Tourism trails, campus life, event activations, real estate tours, or memorial spaces all work better than "general secret messages."
- Make creation delightful. The drawing experience should feel fun in itself.
- Gamify discovery. Streaks, badges, and rare content create return visits.
- Respect privacy. Be explicit about location data usage — it's the single biggest trust barrier.
- Design for offline. Cache nearby content so a weak signal doesn't ruin a reveal.
Final Thoughts
Building an app like WallaMe is less about copying a feature list and more about engineering a reliable magic trick: content that stays exactly where you left it, revealed only to the right person in the right place. The AR frameworks available today make this far more achievable than it was when WallaMe first launched, but the hard parts — anchor persistence, GPS precision, content density, and moderation — still require thoughtful engineering and a clear product strategy.
Start with a tight MVP, prove the reveal loop works flawlessly, launch in one dense location, and expand from there. The technology is ready. The question is what you want people to find.
Have a project in mind? Contact Sodio Technologies to discuss your requirements and explore the right technology solution for your business.
/// Work with us
Talk to the engineers who'd build it
You'll get a technical scope, timeline and cost estimate from the people doing the work, not an account manager. In-house team, no subcontracting, since 2016.